
Finish your flooring with ease: how to install quarter round?
One kind of piece of molding or piece made of molding, or piece made of molding besides shoe molding and molding pieces, is the quarter round molding.
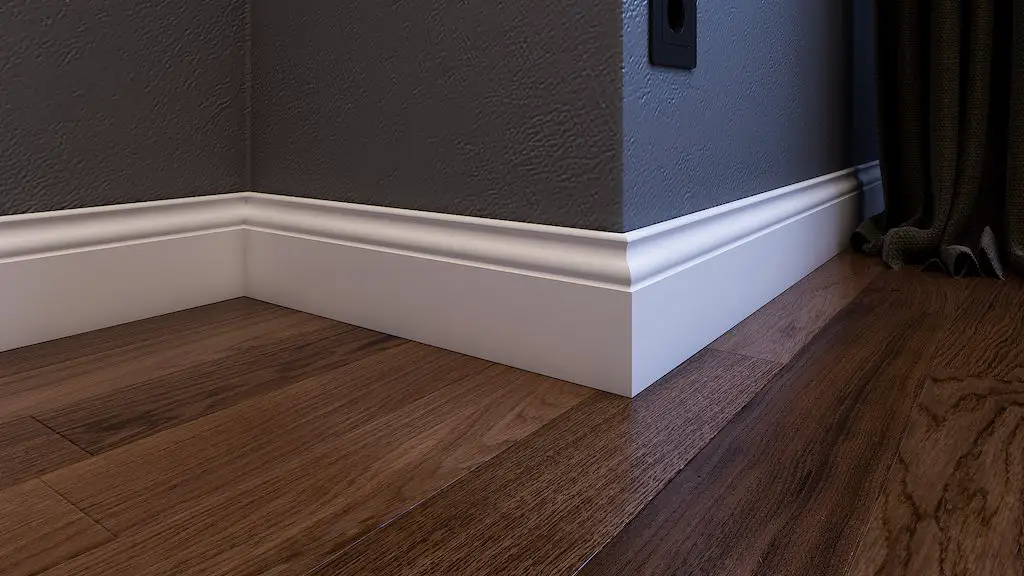
It gives any room a very wood cleanly polished appearance and fills in the spaces between the floor and baseboards.
What is a quarter-round?
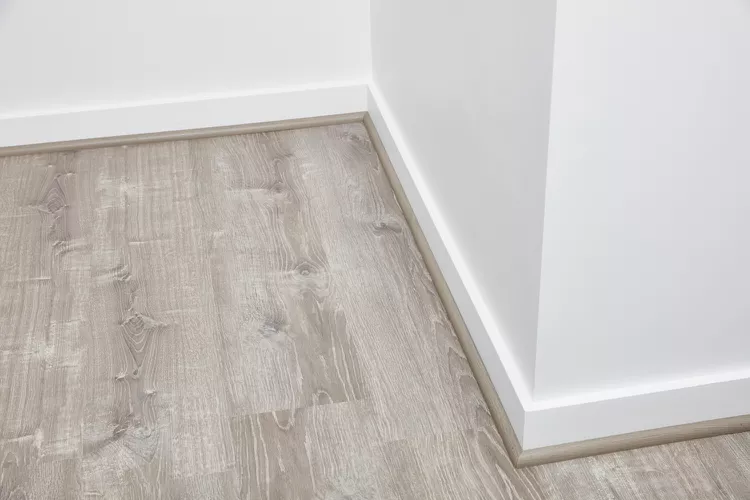
A quarter is a type of first molding piece of quarter-round trim or molding that is of a rounded shape, typically used to cover gaps between baseboards and flooring or to add a decorative finish to the edges of a room.
It is a rounded piece of wood or plastic that is a quarter of a cross-section circle, and it’s installed at a 90-degree angle, where the baseboard meets the floor. It is available in various sizes and materials and can be installed using nails or adhesive.
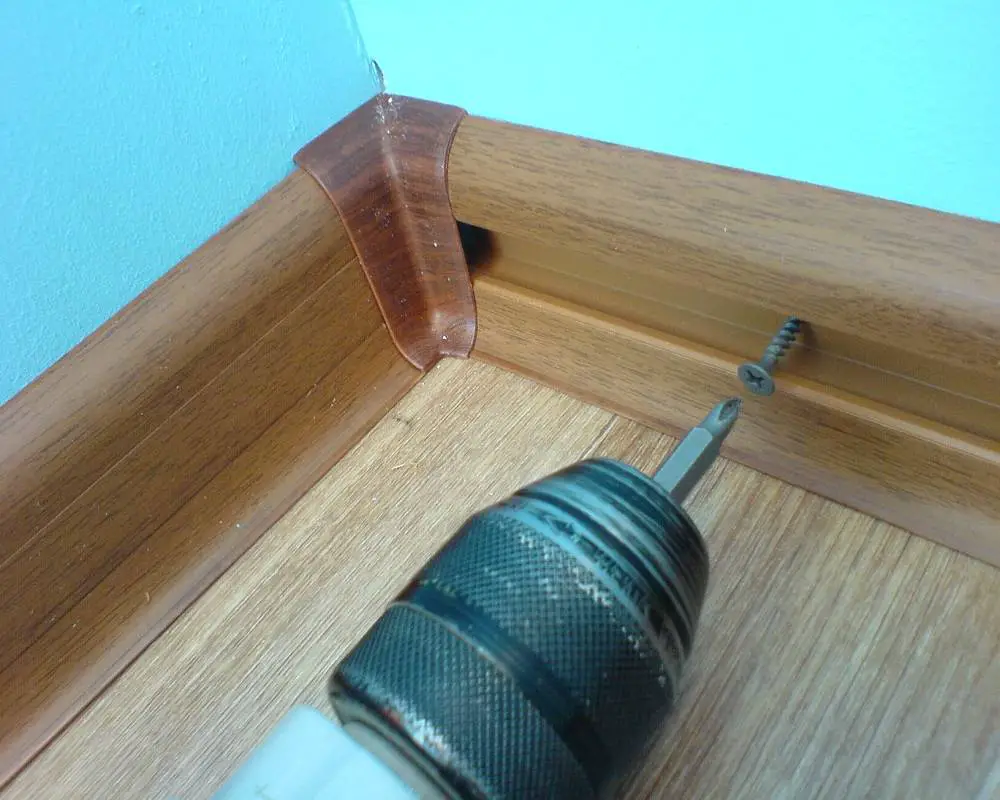
Tools and materials needed
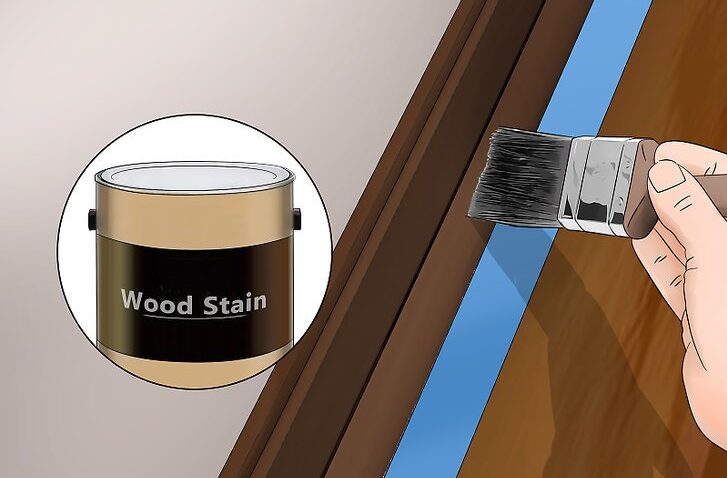
The tools and materials needed to install quarter-round moldings for installing quarter-round molding will include a measuring tape, a miter box, sandpaper, a nail gun or hammer, a caulk gun, adhesive caulk, paint, or stain if desired.
Additional materials may be required to install quarter-round moldings depending on the specific installation, such as shims for uneven floors or speckles for filling the empty nail holes and nail heads, and the nail head in holes.
Preparation before installing quarter-round molding
Before installing, you should ensure that the area is clean and free of debris. Remove any old quarter-round trim or caulk and thoroughly sweep or vacuum the area.
Check for any gaps or unevenness between the baseboard and floor and use shims if necessary to create a flat surface.
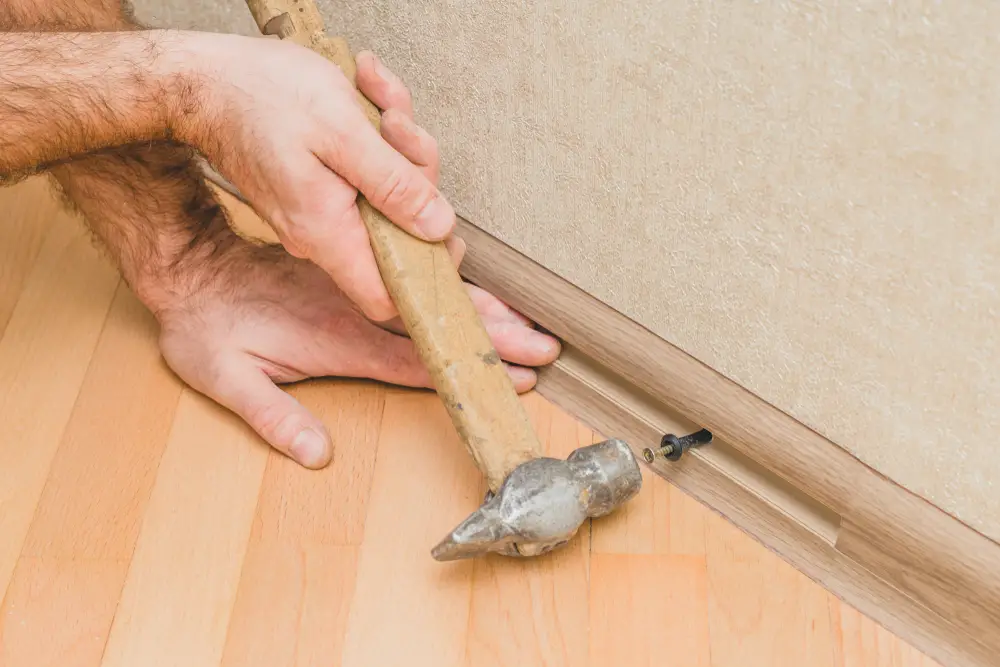
Measure the length of nail holes in the walls to determine how much the second piece of the quarter will need and make any necessary cuts to the quarter-round pieces, using a miter saw.
Finally, sand the edges of the nail heads and finish the nails down on the long wall with the second piece of the quarter to create a smooth finish.
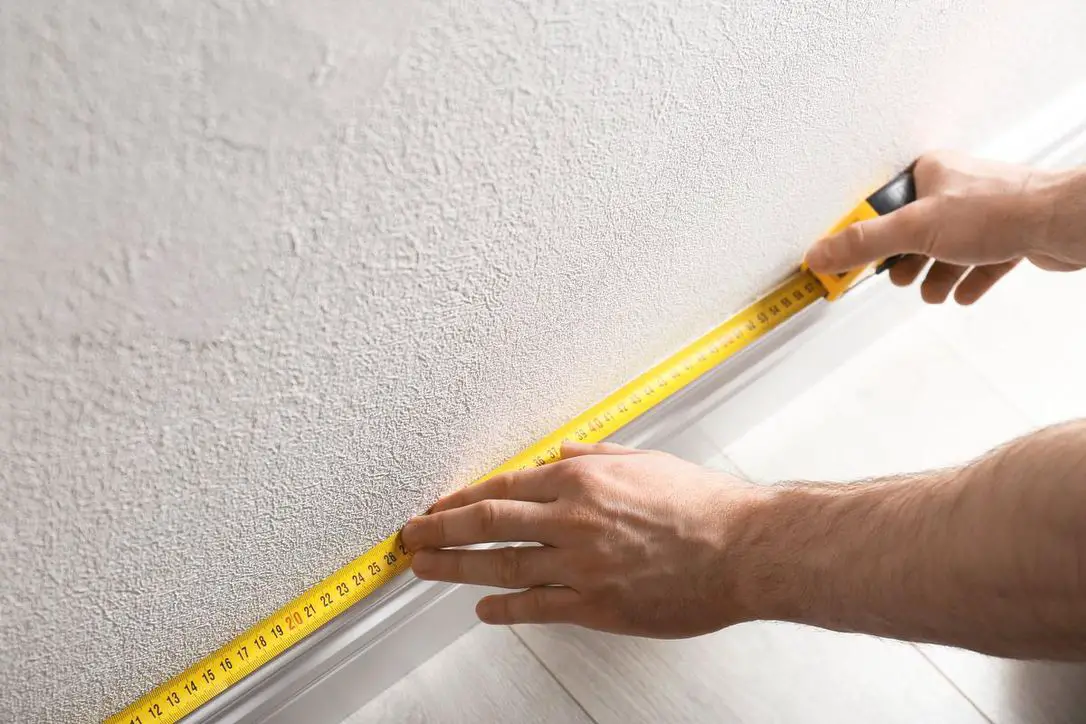
Measuring for its installation
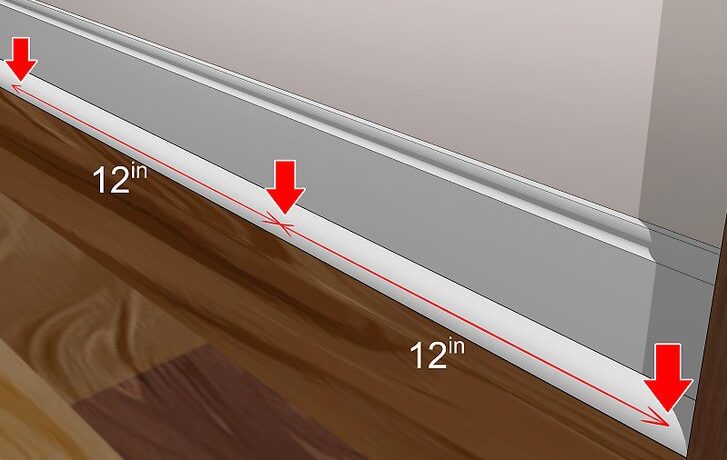
To measure for quarter installation, first, determine the total length of the walls where it will be installed. Measure each wall individually, and add up the total length to determine how much quarter is needed.
It is recommended to purchase 10-15% extra quarters to account for any mistakes or waste. When measuring for cuts, be sure to tape measure and account for any inside or outside corners by measuring the distance between the first outside corner or first inside corner, or the first outside corner of the first piece and the first piece or adjacent wall.
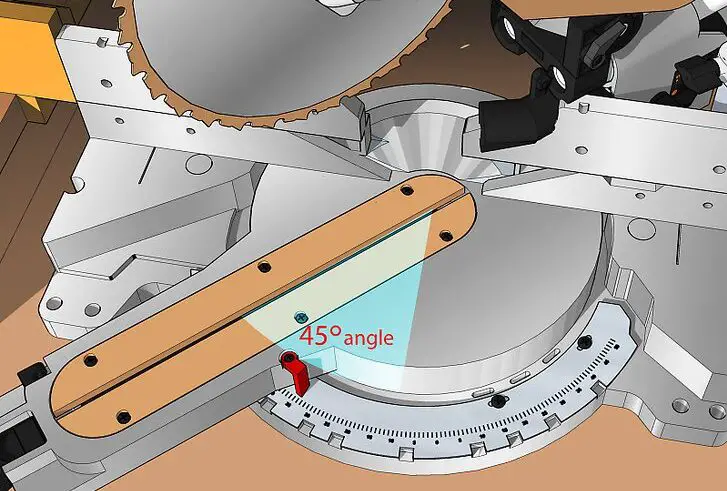
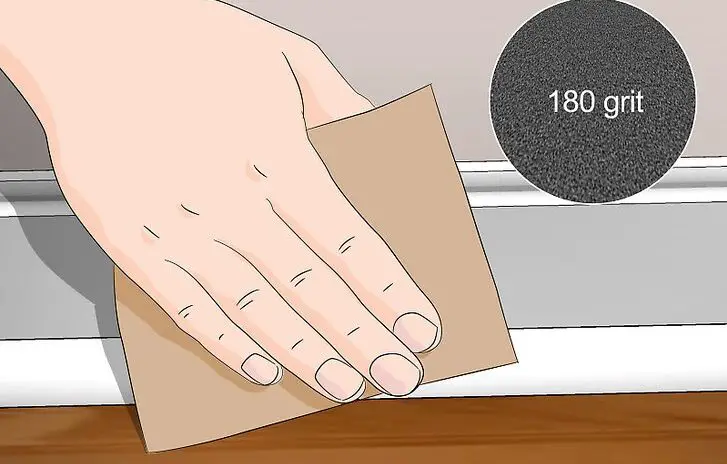
Cutting round to size
To cut it to size, first, measure the length needed for each piece and pencil mark. Use a miter saw, either a hand saw or a power saw, to cut along the marked line with a pencil mark.
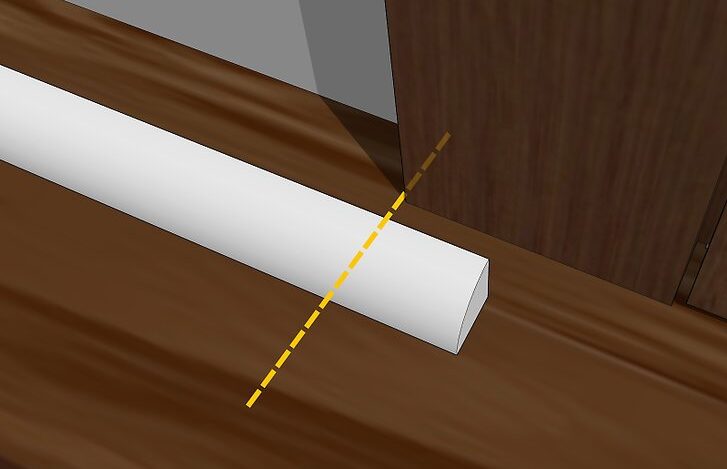
For inside corners, a coping saw is often used to create a precise, tight fit.
For outside corners, a miter saw blade or hand saw is used to create a tight fit with a 45-degree angle cut. After cutting, use sandpaper to smooth any rough edges and create a polished finish.
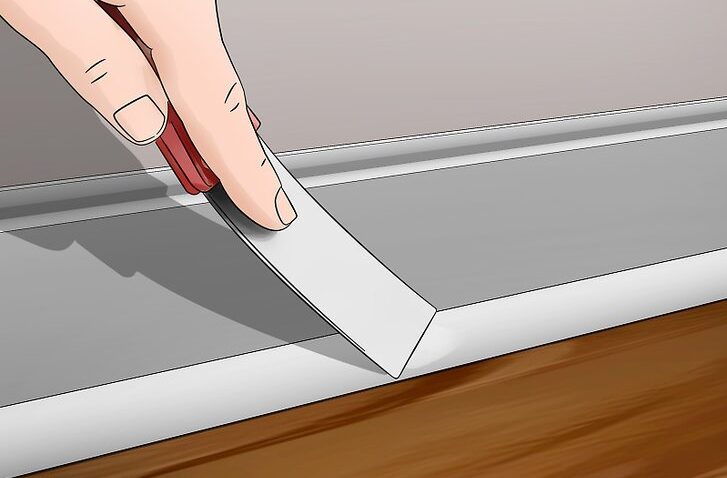
How to remove the old quarter
To remove the waste trim piece from the old quarter, start by using a hand nail and using a putty knife or a flathead screwdriver to the hand nail and gently pry the trim piece back away from the curved surface of the wall.
Be careful not to damage the wall or the floor underneath. If the front quarter-round trim piece is nailed in place, use a hammer and a pry bar to carefully remove the nails.
If the quarter round is glued in place, use a heat gun to soften the adhesive, then gently pry the trim away from the wall. Once the quarter round is removed, clean any remaining adhesive or debris from the wall and floor before installing a new quarter round.
When should you install the quarter round?
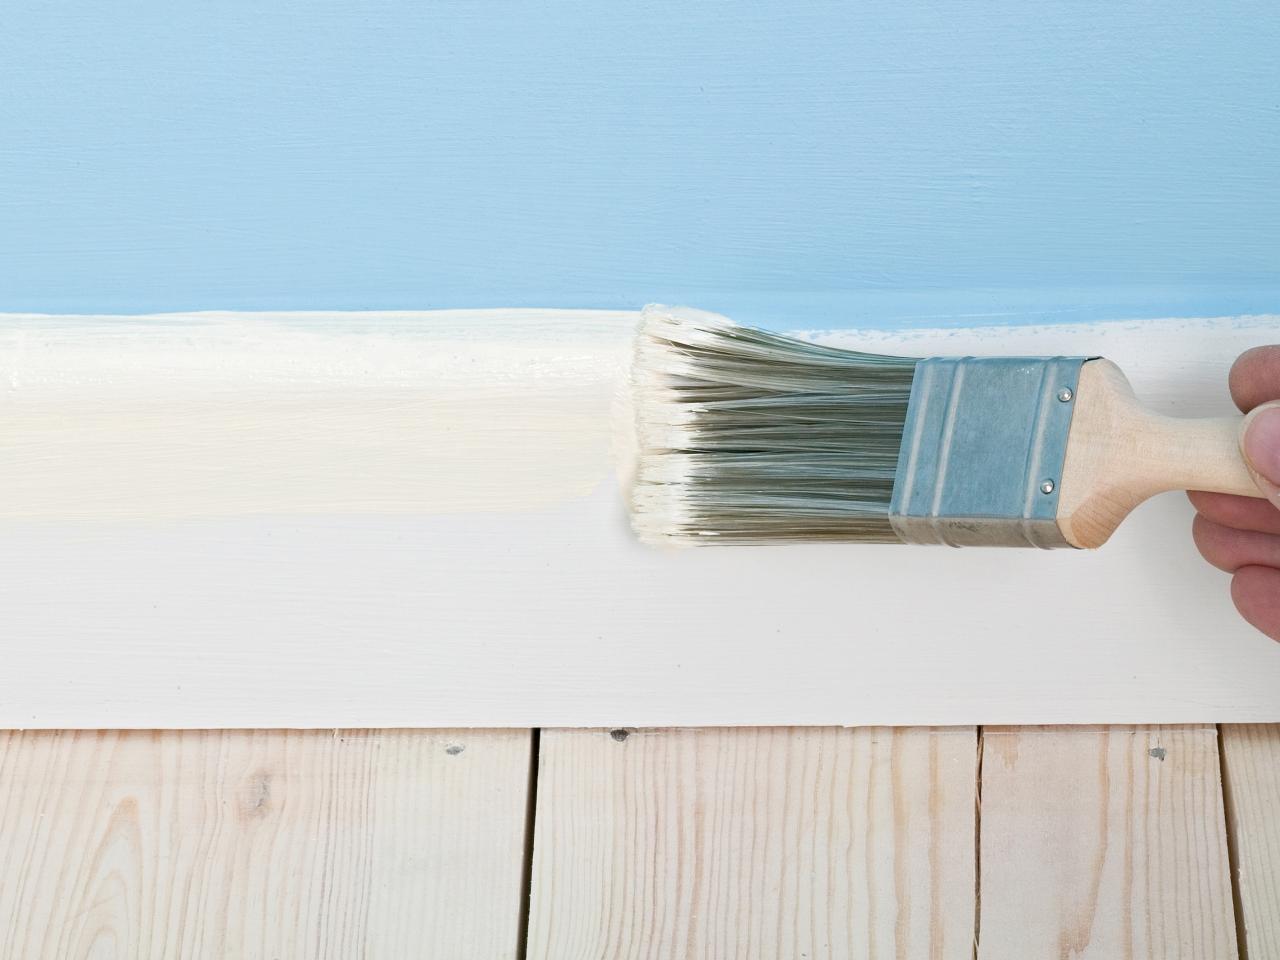
A quarter is typically installed as one of the final steps in a flooring installation project. It is installed after the flooring and baseboards have been installed, but before any finishing touches such as paint or stain are applied.
This allows the quarter-round molding to cover any gaps between the flooring and baseboards, creating a more finished look and polished look of the horizontal floor.
How much does it cost to install a round?
The cost of installing quarter-round molding can vary depending on several factors, including the size of the room, the type of material used, and the complexity of the installation. On average, homeowners can expect to pay for professional installation of this in a standard-sized room.
However, if you choose to research how to install quarter-round yourself, the cost can be significantly less. The price of materials can range per linear foot, depending on the type of material and the supplier. Keep in mind that there may be additional costs for tools, such as a saw or nail gun if you do not already own them.
What are the benefits of installing quarter-round?
The benefits of installing a one-quarter go-round include:
- Hiding gaps: A quarter is installed at the base of the wall, hiding any gaps between the floor and the baseboard.
- Protection: It protects the base of the wall from damage caused by foot traffic or vacuum cleaners.
- Aesthetics: It provides a clean, finished look to the room, enhancing its overall appearance.
What’s the difference between quarter-round and shoe molding?
The difference between it and shoe molding is that quarter is a perfectly round cross-section, while shoe molding has a slightly flattened or oval cross-section. Shoe molding is also typically narrower than the other one, measuring about 3/4 inch by 1/2 inch, while it is usually 3/4 inch by 3/4 inch.
Shoe molding and quarter-round molding are often used to cover gaps between baseboards and other vertical surfaces, while the other two install quarter-round molding used specifically to cover gaps between the floor and the vertical baseboard itself.
Both types of two install quarter-round molding serve a similar purpose and can be used interchangeably in some cases.
Tips for a professional-looking quarter-round installation
- Make sure to use a saw with a sharp blade, a nail gun or hammer, and sandpaper to ensure clean cuts and a polished finish.
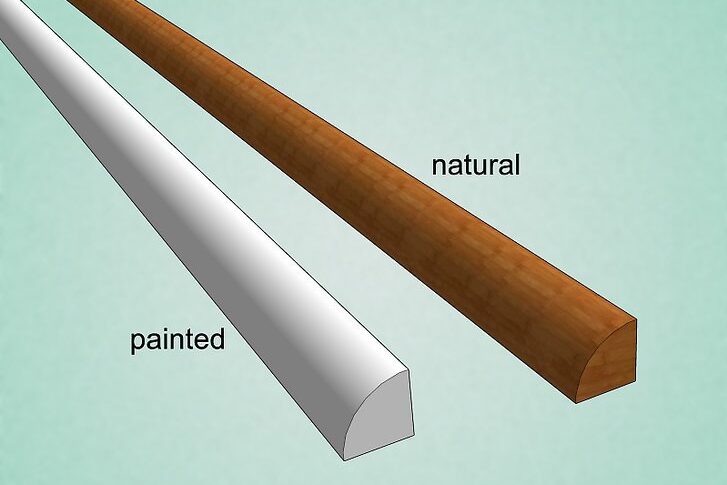
- Consider the type of flooring and baseboards in the room when selecting the material for this. Matching the color and finish of the existing trim will create a cohesive look.
- Take precise measurements of the wall lengths and angles to ensure that this fits snugly and without gaps.
Common mistakes to avoid when installing quarter rounds
- Not preparing the area: Make sure to clean the area where this will be installed and remove any debris or old adhesive to ensure a secure fit.
- Not taking accurate measurements: Failing to take precise measurements can result in such an ill-fitting it that looks unprofessional.
- Not accounting for expansion: If installing this in a room with hardwood floors, make sure to account for expansion and leave a small gap between this and the floor.
What to do if your quarter round is too short
If a second piece of your quarter is too short for the first piece that you test to fit in the intended area, you can use a technique called scarfing to join two thin slices of the second piece and the first piece of the quarter together.
To do this, cut a 45-degree angle on the outside edge of the end of each piece, making sure they are angled in the opposite direction.
Apply wood glue to the two angled surfaces and press them together, holding them in place until the glue dries. Once dry, sand down any rough edges and paint or stain as desired.
How to install quarter round on curved walls
Installing quarter rounds on curved walls can be challenging, but it is possible with a few extra steps.
First, measure the length of the curve and cut the quarter round into small, even sections.
Next, use a heat gun or hot water to soften the quarter, making it more flexible.
Gently bend the quarter round to match the correct angle to the curve of the wall, securing it in place with a few nails or adhesive.
You should repeat this process for each section of the quarter round until the entire curve is covered. Sand down any rough edges and paint or stain as desired.
How to install quarter round on brick walls
Installing quarter rounds on the brick wall requires additional steps compared to how to install quarter round on a regular wall. First, drill pilot holes into the brick using a masonry bit. Then, attach furring strips to the wall using masonry screws or adhesive.
Once the furring strips are in place, you can nail holes or glue the installing to the strips. Sand down any rough edges and paint or stain as desired.
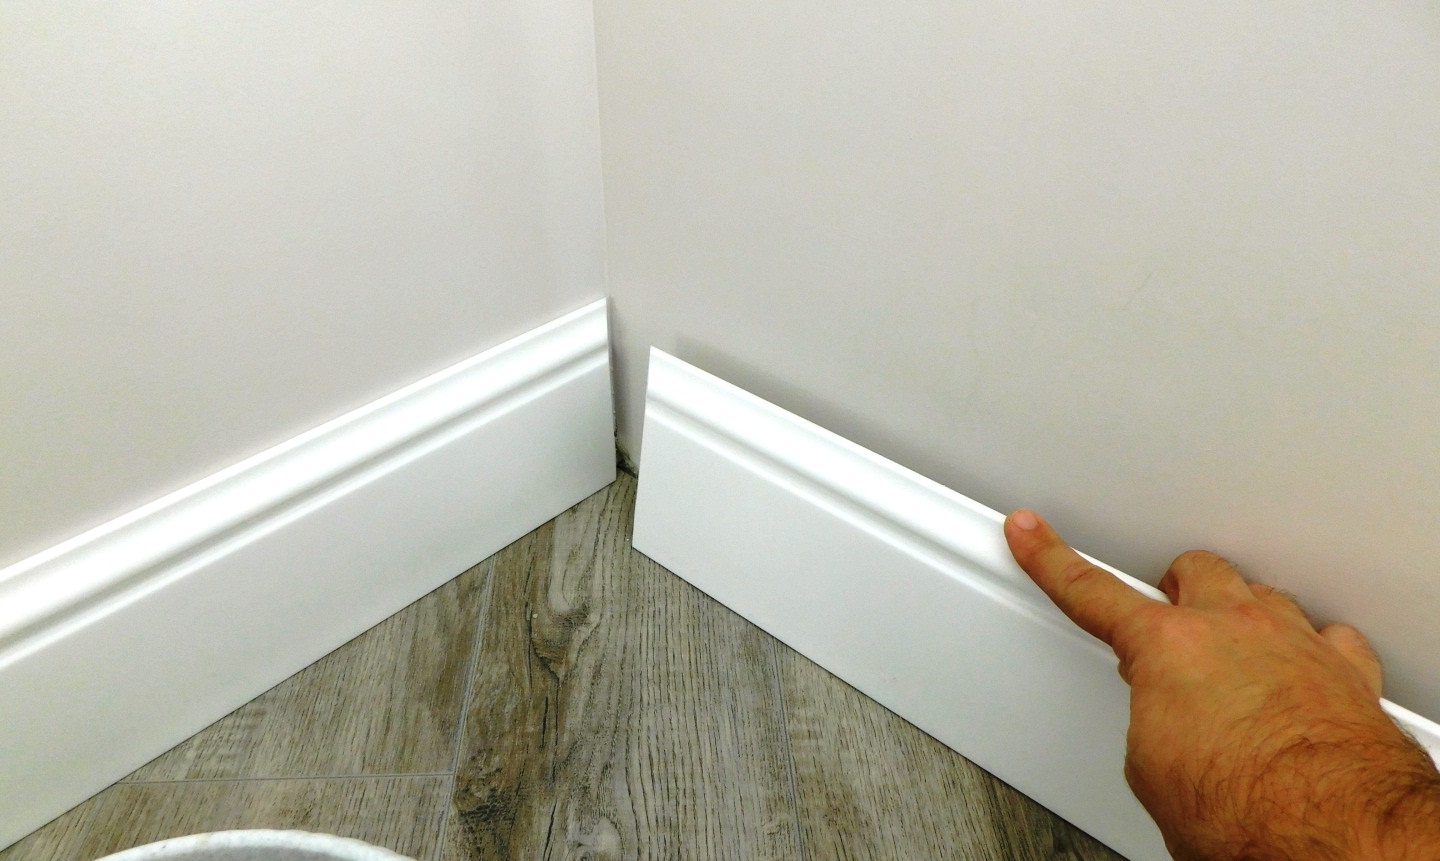
How to cope with inside corners for quarter-round installation
- Cut the first piece of quarter round to length and hold it in place against the wall and baseboard.
- Using a coping saw, carefully cut away the back edge of the quarter round at a 45-degree angle, following the contour of the baseboard.
- Sand the cut edge smooth with a sanding block or sandpaper.
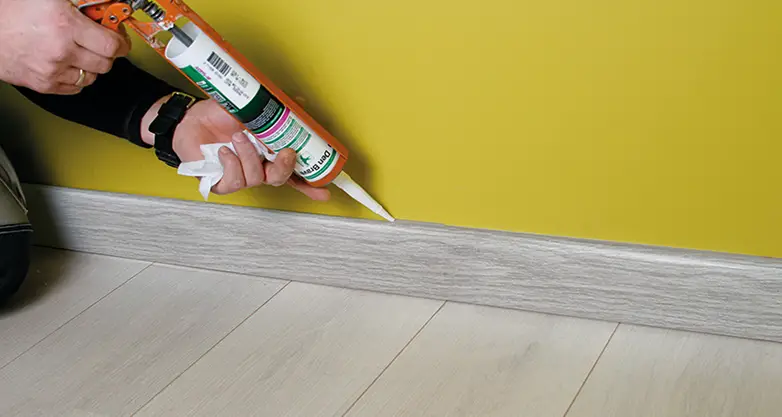
How to remove excess caulk after quarter-round installation
Removing excess caulk after installing this molding four-round installation is important to achieve a professional-looking finish. You can use a caulk remover tool or a putty knife to carefully scrape away any excess caulk.
Alternatively, you can use a damp rag or sponge to wipe away the excess caulk before it dries. Be careful not to damage the quarter or the wall during the process.
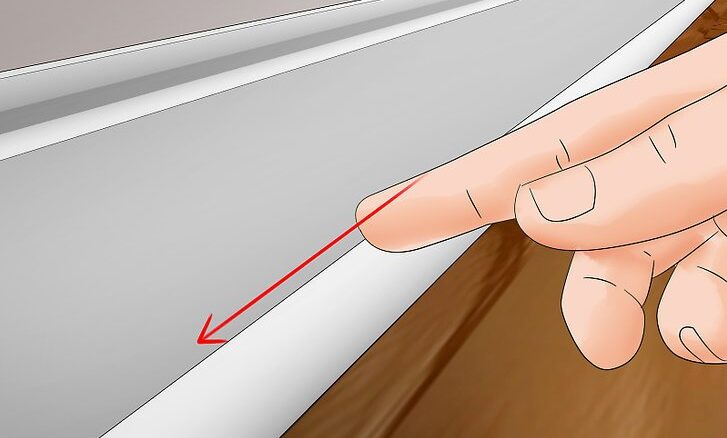
How to clean and maintain quarter round
To keep the finished nail set of nails in your quarter looking their best, clean the nail set regularly with a damp cloth or sponge.
You can use a mild soap solution if needed, but avoid using abrasive cleaners that could damage the finished nail set of nails.
Conclusion
Installing quarter rounds can be an excellent way to achieve a polished and professional-looking finish for your flooring project. With the right tools and materials, proper measurements, and attention to detail, you can easily install this.
Whether you choose to use nails or adhesive, cope, miter box, thin bead, or match quarter rounds to your baseboards, following the steps outlined in this guide will help you achieve a successful installation. In case you have a paint or adhesive problems on your floor during your renovation, you may find helpful this guide about floor cleaning.
Remember to take your time, you must work carefully, and seek professional help if needed, and you will be rewarded with a beautiful and functional flooring finish that you can enjoy for years to come.
FAQs:
It can be installed using either nails or glue, or a combination of both. Nails are a quicker and more traditional method, but glue provides a stronger and more secure hold. Consider the specific application and materials when deciding whether to use nails, glue, or both.
Yes, you can be install quarter-round without a nail gun using a hammer. You can also use adhesive instead of nails for a completely nail-free installation. However, a nail gun can make the process quicker and more efficient.
To install this by hand, measure and cut the pieces to size using a miter box. Then, hold this in place and nail it into the baseboard or wall using a hammer and finishing nails.
Read on site: Best Staplers for 50 Pages (2024)