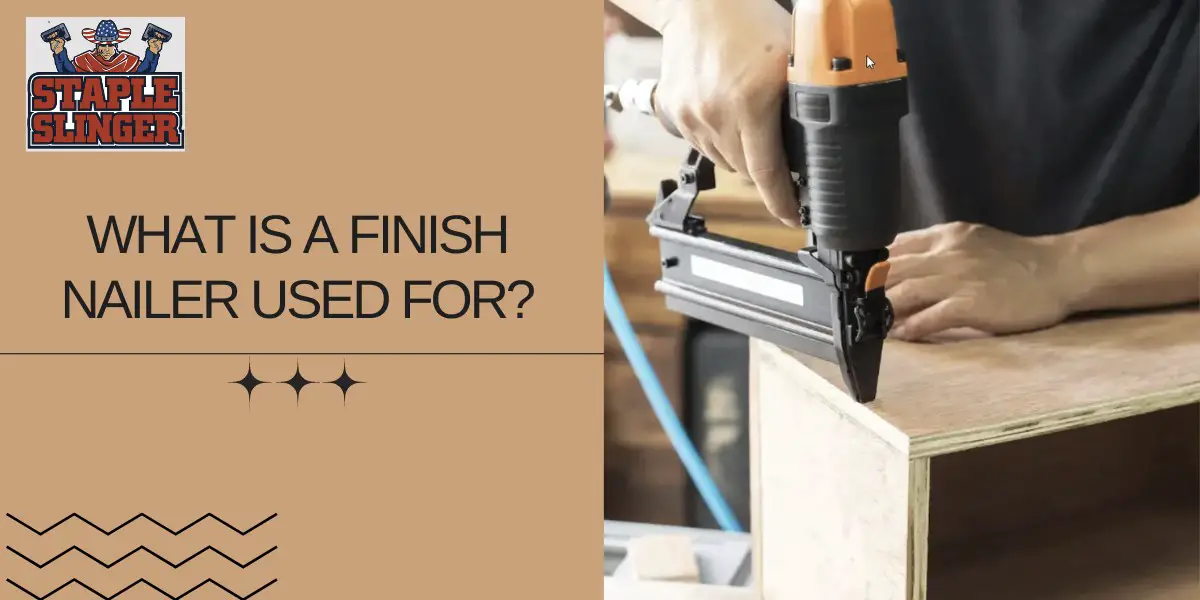
What is a finish nailer used for?
You’re probably wondering what a finish nailer is and what it’s used for. A finish nailer is a tool used to fasten decorative trim or window trim and decorative molding to walls, floors, and ceilings. It drives finish nails into the trim or molding to hold it in place.
Finish nailers come in two types: pneumatic and electric. Pneumatic finish nailers use compressed air to drive the finish nails, while electric finish nailers use electricity to power the tool.
What is a finish nailer used for? Finish nailers are often used for decorative purposes, such as installing baseboards, chair rails, and crown molding. They can also be used for more practical purposes, such as attaching trim around doors and windows.
So is a finish nailer worth it? That depends on the tasks you plan to use it for. If you’re looking to add a touch of decorative flair to your home, then a finish nailer is worth it. If you’re looking for something more rugged, then you may want to consider a different type of nail gun.
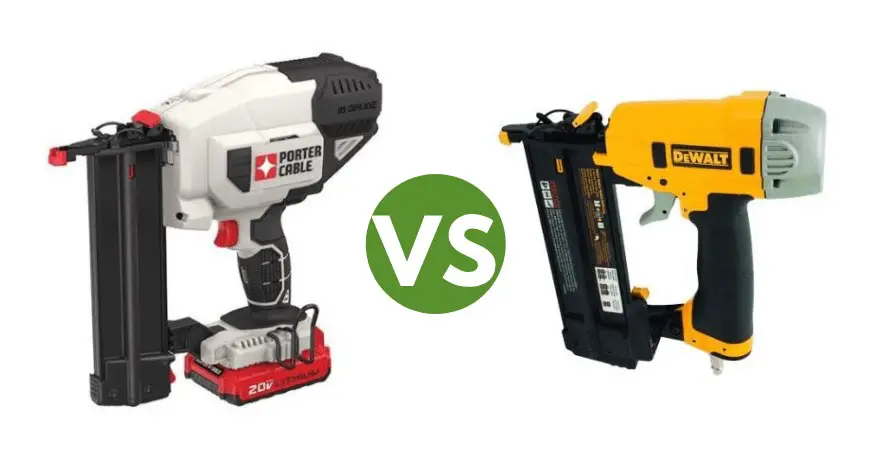
Understanding brad nailers and finish nailers, key differennces
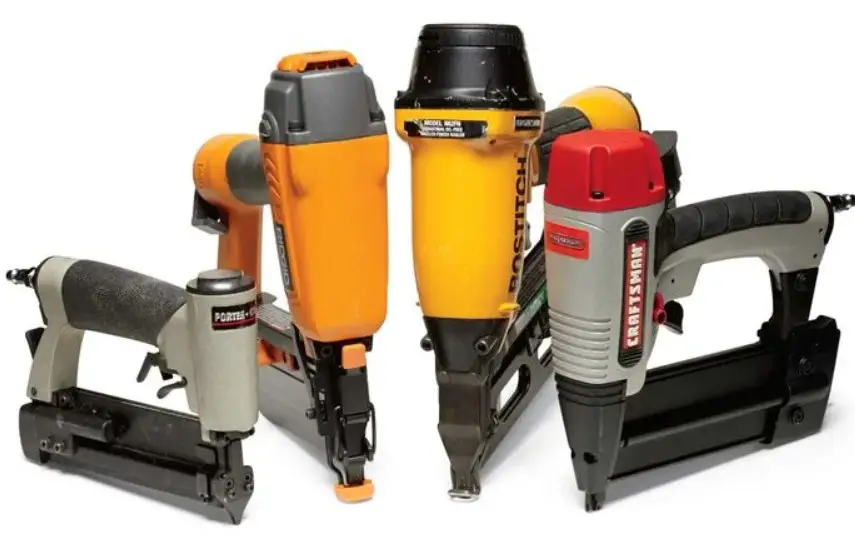
There are several types of nailers on the market, but the two most popular are the Brad Nailer and the Finish Nailer.
A Brad Nailer is a type of pneumatic brad nail gun that drives a small, thin nail into wood. It’s named after the inventor, Henry F. Bradshaw, and is mainly used for trim work and other decorative purposes.
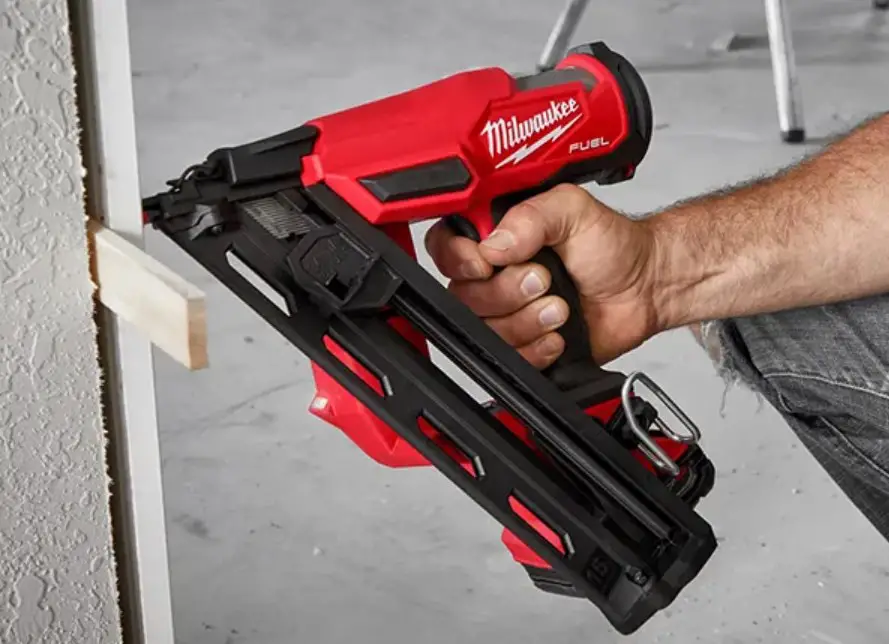
A Finish Nailer, on the other hand, is a type of pneumatic finish nail gun that drives a large, thick nail into wood. It’s used for more rugged construction tasks, like framing and sheathing.

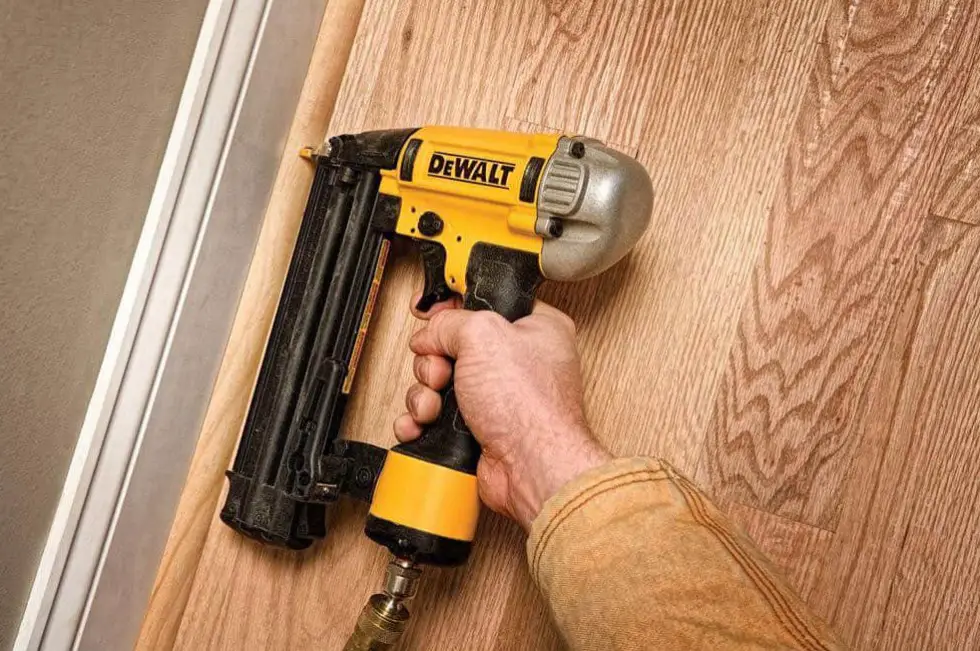
Achieving the perfect finish with a finishing nailer
Before you start nailing, make sure the surface is clean and free of debris. Also, be sure to predrill holes not to split wood.
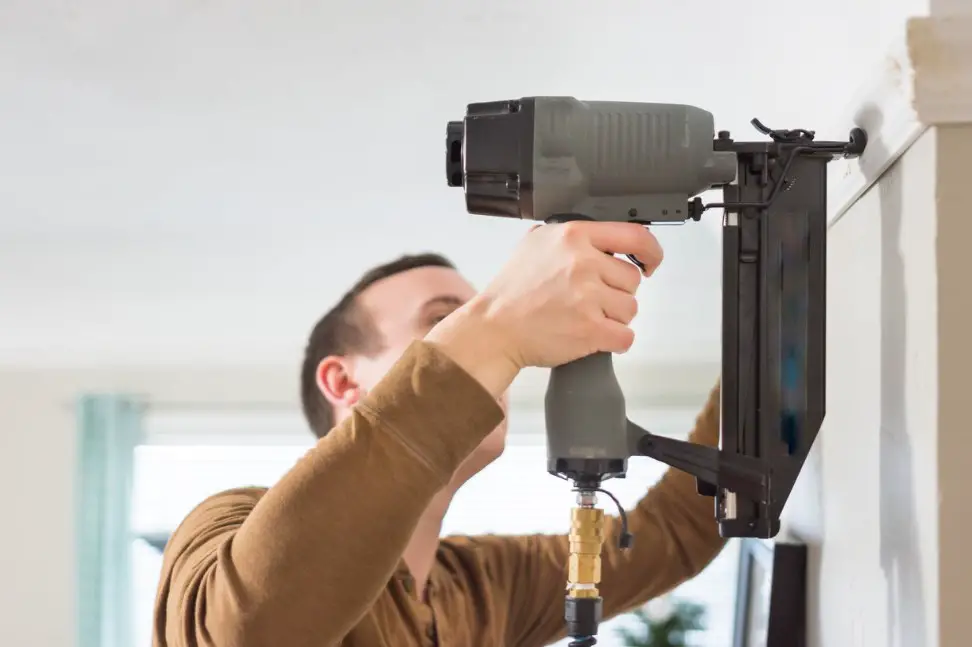
Then, hold the nailer so the barrel is parallel to the work surface and the tip of the nail is lined up with the mark you made.
Squeeze the trigger to drive the finishing nails into the wood. Keep your finger on the trigger and hold the nail gun against the wood as you hammer on the back of it with a regular hammer to set the nail.
If you’re using a finish nailer for the first time, it might take some practice to get accustomed to it. But once you’ve got the hang of it, you’ll be able to achieve a perfect finish every time.
Efficiency in the workplace with finishing nailers
Finishing nailers can increase the efficiency of your work.
They make it possible to fix molding trims and other finishing materials much faster than with a traditional hammer and nails. Not only are they more precise, but they also minimize the amount of time and energy it takes to get the job done.
So if you’re looking for a way to speed up your construction projects, a finishing nailer is worth considering.
Different types of finishing nailers
What Types of Nail Guns are Available? There are two types of finishing nailers: pneumatic and electric. The pneumatic nailer is powered by an air compressor and it is one the most powerful type of finish nailers. Electric nailers are powered by batteries or cords and are less powerful than pneumatic nailers.
A pneumatic finish nail gun can shoot 15-gauge or 16-gauge nails. The smaller the gauge number, the larger the nails. 16-gauge nails are thinner and easier to bend than 15-gauge nails. 15-gauge nails are thicker and provide more holding power.
The downsides are that pneumatic tools need an air compressor to drive them, which will be an extra expense if you don’t already own one.
A straight-finish nailer has a magazine that is parallel to the surface the worker is nailing. Angled finish nailer makes it easy to access smaller spaces like corners when fixing crown molding or trim, and they typically hold 15-gauge nails, making them great for sturdier applications.
Angled finish nailer includes 21-degree and 35-degree nailers—the higher the number, the sharper the angle. However, almost all angled finish nailers take 15-gauge nails.
An electric finish nail gun can shoot 16-gauge or 18-gauge nails. 18-gage nails are thinner than 16-gauge nails and are more difficult to bend. The thicker a nail, the more holding power it has.
If holding power is not an issue, the 16-gauge nailer works well. 18-gauge nails also have a smaller diameter, which makes them less visible when used for trim work.
Tips for choosing the right finish nailer
With all the different types of finish nailers on the market, it can be hard to know which one is right for your project. Here are a few tips to help you choose the right finish nailer:
- If you’re planning on using your nailer for multiple projects, cordless models will be more versatile and easier to use. Cordless finish nailers are also more expensive, so keep that in mind when making your decision.
- If you’re only going to be using your nailer for one specific project, a corded model will be fine. Just make sure that the cord is long enough to reach the area you’ll be working in.
- The size and weight of the nailer are important factors to consider, especially if you’ll be using it for extended periods. You don’t want something too heavy or bulky, as it will be difficult to maneuver and could cause fatigue.
- The gauge of the nails is also an important consideration. For most projects, an 18-gauge brad finish nailer is sufficient. But if you’re working with thicker materials, you may need a 16-gauge or even a 15-gage nailer.
- Make sure to choose a finish nailer with safety features like a depth adjustment to prevent overdriving the nails, and an anti-jamming mechanism to avoid jams. Also, look for one with an adjustable exhaust so you can direct the air away from your face.
Dos and Don’ts for safe finish nailing
Now that you know what finish nail guns are and what they are used for, let’s talk about how to use one safely.
- First, always wear safety goggles when using a nail gun and finishing nails.
- Second, make sure the area you’re working in is well-ventilated.
- Third, always keep your fingers away from the trigger when you’re not using the nail gun.
- Fourth, when you’re putting the nails into the nail gun, make sure they’re pointing in the right direction.
- And fifth, when you’re using the nail gun, be sure to hold it with both hands.
Finish Nailer pros and cons
Let’s start with the pros: finish nail guns are great for consistent, easy-to-use results. Plus, finish nail guns are more powerful than your average handheld nailer, so they’re perfect for heavy-duty carpentry projects.
Finish nail guns are also great for delicate woodworking jobs where you need to be careful not to split the wood. You shoot 15 or 16-gauge trim nails (depending on the project) to fasten trim with this magnificent tool.
Finish nailers insert the thickest nails of the three, roughly 15-16 gauge, so they provide a stronger hold than brad nailers. The size and strength of 15-16 gauge finish nails make a finish nailer perfect for cabinet and furniture building.
Now for the cons: finish nailers can be a bit more expensive than your average handheld nailer. Plus, finish nailers are not as versatile as a hand-held nailers—you can’t use them for tasks like upholstery or roofing.
Brad Nailer’s pros and cons
If you’re still on the fence about whether or not you need a brad nailer, let’s go over some of the pros and cons of the brad nailer.
On the plus side, brad nailers are extremely consistent. This is because brad nailers use a compressed air system to drive the nails into the wood, which means there’s very little room for error.
Another big plus is that brad nailers are relatively inexpensive. You can find a good quality brad nailer for a small price to pay for such a versatile tool.
Brad Nailers Brad nails are slightly larger than pin nails, usually made from 18-gauge steel wire. These are more versatile than pin nails because they’re sturdier and have more holding power.
On the downside, brad nailers can be a bit tricky to use. If you’re not familiar with how brad nailers work, it’s easy to accidentally shoot nails through your hand or into something else that you didn’t intend to hit.
So, if you’re thinking about getting a brad nailer, just be sure to read the instructions carefully and practice using it on some scrap wood before you start working on your project. That way, you’ll be sure to use it safely and get the best results.
Pneumatic vs cordless Brad nailer
When choosing a brad nailer, you have the option of either a cordless or pneumatic finish nailer. Here’s a quick rundown of the pros and cons of each:
Cordless Brad nail guns
The biggest advantage of a cordless brad nailer is that it’s portable and can be used anywhere. No need for an air compressor – just charge up the battery and you’re good to go. The downside is that they tend to be less powerful than pneumatic tools, so if you’re looking to do some serious nailing, a cordless brad nailer might not be the best choice.
Pneumatic Brad nail guns
A pneumatic brad nailer is going to be more powerful than its cordless counterpart, meaning it can handle heavier materials. The downside is that you need an air compressor to operate it, so it’s not as portable as a cordless tool.
Purpose of Brad nail gun
A brad nailer is a versatile tool that can be used for several different tasks, including:
- Hanging pictures
- Installing molding and trim
- Attaching small pieces of wood
The brad nailer is best suited for light-duty tasks, as the nails it uses are smaller and not as strong as those used in a finish nail gun. That being said, the brad nailer is still a valuable tool to have in your arsenal, as it can be used for a variety of different tasks around the home.
Purpose of Finishing Nail gun
So what is a finish nailer used for? It’s used to put the finishing touches on woodworking projects. It’s perfect for attaching small pieces of trim, molding, or crown molding. And since the nails are so small, they’re practically invisible once they’re in place.
Plus, using a finish nailer is a lot easier than trying to hammer in those tiny nails by hand. I mean, have you ever tried to hold a piece of trim in place while hammering a nail into it? It’s not easy! But with brad nail guns, all you have to do is line up the gun with the trim and squeeze the trigger.
The best part is that finish nailers are relatively inexpensive. You can find a finish nailer at any hardware store. And trust me, it’s worth every penny.
Can you use a finish nailer for framing?
A framing nailer is similar in appearance, but neither of them has an identical purpose. The nails are the same, and you wouldn’t interchange them either. Instead, you will use the frame nails for larger jobs, while you will use the finished nails for smaller details. So,
can you use a finish nailer for framing?
Typically, framing nailers will be differentiated by nail collation (how the nails are connected), whereas finish and trim nailers are identified by gauge – and angle – in some instances. Marrying the correct tool for the job is most important. You should only use framing nails for all framing projects.
Conclusion
A finish nailer is a great tool to have around for various finish carpentry tasks. In addition, to trim and crown molding, you can also use a finish nailer to attach boards and panels, as well as to create other carpentry details.
FAQs:
Generally, the brad nails are created by thin wires that can be up to 18 gauge. Usually, the finished nail is 16 to 10 gauge which is much stronger than a brad nail. Finishing nails are available in longer lengths than many brad nails and some of them have lengths above 3.5”.
For trim carpentry work, use a finish nailer. When items are too big or too hard for the brad nailer, the finish nailer takes over: the finish nailer has the energy required for denser materials.
You can use a brad nailer to connect thin trims and moldings without using putty. A finishing nailer, on the other hand, is what you will use for the majority of carpentry and woodworking operations, albeit you may need to fill the hole.
Read also: 6 Best stapler sewing machine (Buyers Guide)