Forget the nail gun: how to install door trim without nail gun
You’ve been putting this off for way too long. But it’s time to muster up your courage, grab your tools, and finally put up some door trim.
Forget the nail gun – you don’t need any fancy power tools for a task like this. All you need is a hammer, some nails, a handsaw, and a little patience. In the process of installing door trim without a nail gun, the stability of butt joints partly depends on your skill and technique, ensuring a well-fitted and secure final result.
Mastering the art of how to install door trim without nail gun might take a bit more time, but it lets you work meticulously for a professional outcome. Embrace the satisfaction of effectively installing door trim only with carpentry as you step back and appreciate your craftsmanship.
Gather the necessary tools
Learn how to install door trim without nail gun and achieve stunning results by hand. To install door trim by hand, you’ll need some essential tools and supplies.
- First, you’ll want a good set of woodworking chisels in different sizes, like 1/2-inch, 3/4-inch, and 1-inch widths. Chisels allow you to cut into the wood for notches and mortises. You’ll also want a sharp utility knife to score the wood before chiseling.
- Next up, a nail hammer. You can’t install trim without one. Look for a hammer with a smooth face and curved claw. A rubber mallet works too and won’t mar the wood.
- You’ll also need wood glue, a paintbrush to apply it, and clamps to hold the trim in place as the glue dries. Wood glue provides a strong bond, and clamps ensure the door’s trim is secured properly.
With the correct tools and a bit of patience, carefully measure, cut, and fit each trim piece. Apply wood glue, clamp it securely, and let it dry thoroughly.
Fill any gaps, sand, and apply paint or stain for a polished look.
Although it might take more effort, the precision and gratification of installing door trim manually are rewarding. Your home and office doors will be impeccably trimmed in no time.
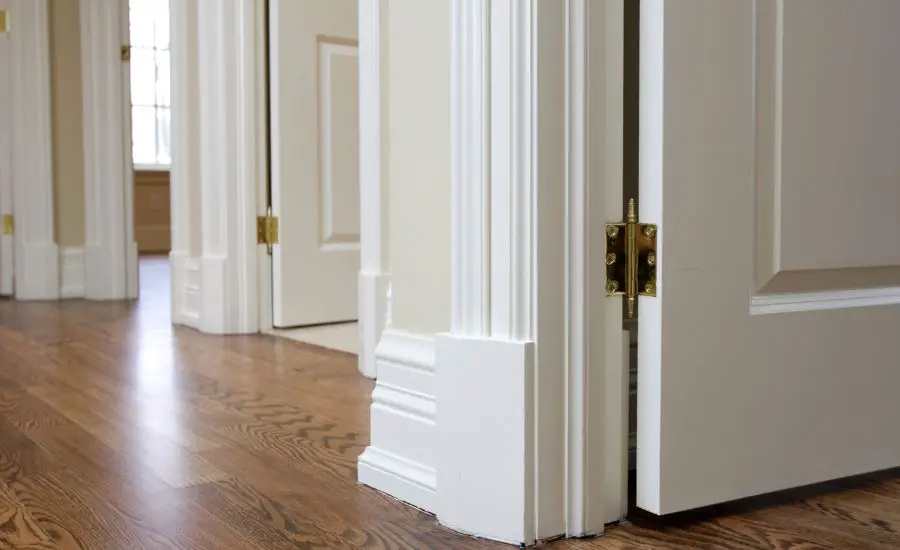
Choose your door trim style
So, you’re ready to add the finishing touch to the exterior or interior design of your home and office doors—the trim. There are a few neat trim styles to choose from, so pick what suits your tastes and skills.
- Flat door trims are simple and minimal, easy for beginners. It’s just a plain board cut to size. If you like clean lines, this is for you.
- Crown molding is more decorative, for those wanting an elegant look. It has angular edges that meet at the ceiling. Crown molding comes in a variety of patterns, from simple to ornate. The installation process takes some practice to get the corners lined up properly.
- Chair rail molding is placed partway up the wall, with one style of door trims below it and another above. This breaks up a plain wall nicely. The chair rail is slightly harder to install due to getting multiple trim pieces aligned.
- Fancy molded door trims incorporate curved and grooved details. This option makes a statement but also requires more advanced techniques to install and get all the edges and seams tight-fitting. The performance of butt joints depends partly on your attention to detail and technique, which contributes to a well-executed and secure result.
MDF (medium-density fiberboard) door trims are inexpensive, easy to cut, and take paint well. For painting trim, use a trim paint in a satin or semi-gloss finish, which provides durability.
With some patience and the proper tools, you can install door trim by hand and give your place a custom look.
Measure and cut the trim to size
Before you can install door trim, you’ll need to measure and cut each piece to the proper size. Take your time with this step—precise cuts will make the installation process much easier. Installing interior door trim will give your room an elegant look that will spice up your interior decoration.
Cutting the trim
Use a miter saw, circular saw, or table saw to cut the trim to size. Cut the trim pieces a bit longer than needed, around 1/2 inch for each piece. It’s easier to make small adjustments to install quarter-round trim part than to cut a new piece if it’s too short.
- For the side pieces, cut two vertical sections to the height of the door frame.
- For the top piece, cut one horizontal section to the width of the top of the frame.
- For the bottom piece, cut one horizontal section to the width of the bottom of the frame.
When installing door trim without a nail gun, it’s essential to ensure that the trim pieces fit well during the test fitting. Once the trim pieces fit perfectly in the test, you’re ready to start nailing them in place.
Take your time with the installation and check that each piece is level, secure, and professional-looking before moving on to the next exterior or interior design side. With careful measuring, cutting, and a meticulous approach, you’ll end up with door trim that looks like it was installed by a pro.
Apply wood glue
Now it’s time to apply wood glue to securely bond the trim to the door frame. Wood glue creates a strong, permanent bond and helps prevent the trim and door casing from warping or splitting over time.
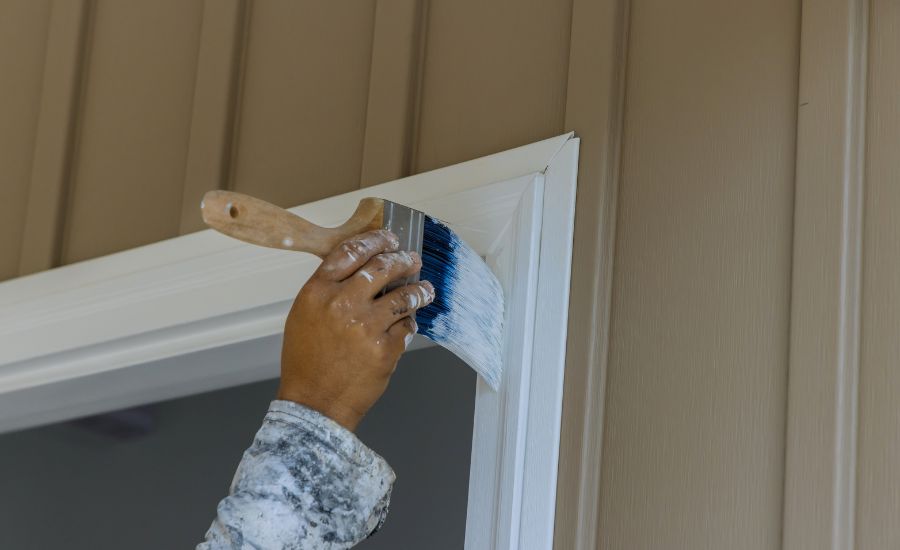
- Apply the glue
Use a paintbrush to apply a thick, even coat of wood glue to the back of your door trim pieces. Make sure you cover the entire surface that will contact the frame. Using glue also varies on what type of quarter-round material you are using (e.g., PVC, wood, vinyl).
- Clamp in place
After applying the glue, firmly press the trim piece onto the door frame. Hold it in place for 30 to 60 seconds as the glue begins to set. Then secure the trim with bar clamps, wood clamps, or C-clamps. Place clamps every 6 to 8 inches along the length of the trim.
- Check your work
Because wood glue takes a full 24 hours to set and firm, it takes patience to install baseboards and door trim. Avoid hanging doors or performing any rough activity around the trim during this time.
Once cured, the wood glue miter joints will likely be stronger than the wood itself, ensuring your door trim is installed to last. By taking your time and paying close attention to detail, you’ll end up installing door trim, that looks like it was done by a professional.
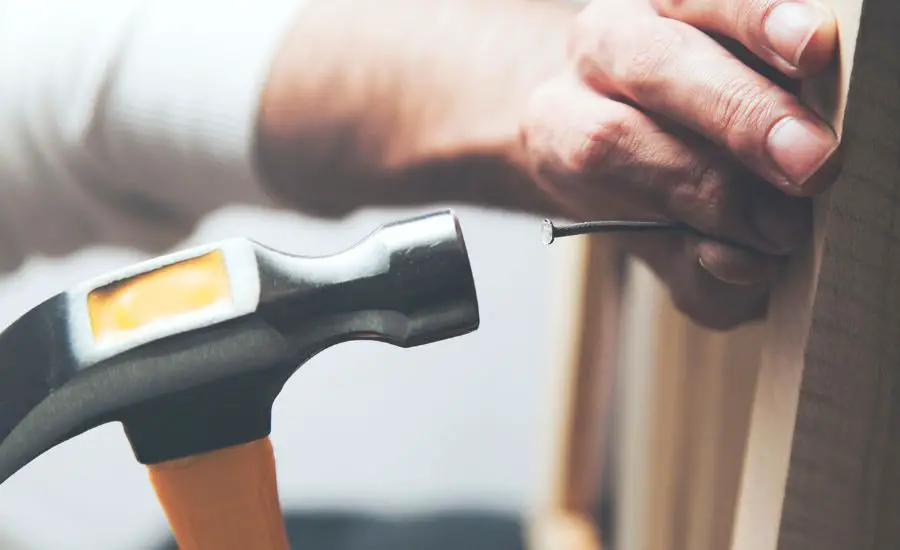
Use a hammer to secure the trim
Now it’s time to show how to install door trim without nail gun your door trim. Forget the nail gun—all you need is a hammer, nails, and a little patience.
- Position the trim
Hold the first piece of trim up to the door frame to ensure it’s the correct size. Once you’ve confirmed the fit, you’re ready to nail door trim without nail gun.
- Drive nails at an angle
Secure the trim by driving nails at an angle through the trim into the door frame. Start with the two ends to hold the trim in place, then add nails every 6 to 8 inches in between. Aim for a 45-degree angle for the best hold. Drive the nails in just enough to secure the trim, without denting the surface.
- Set nails below the surface
Once the trim is fully secured, finish driving the nails, so they sit just below the surface of the wood. Take care not to mar the surface of the trim with your hammer. Place a wood block over the nail heads and tap gently to set.
- Fill holes and touch up
Apply wood filler over the nail holes and any dents or imperfections, then sand smooth when dry. Touch up the finish to blend in with the rest of the trim.
- Repeat the process
Work your way around the door, securing one side of the trim at a time. Take your time—good trim work is all in the details. Double-check that each piece is level before moving on to the next side. Once all sides are installed, you can move on to the finishing touches like caulk, paint, or stain to complete the look.
With some patience and the right techniques, you’ll have your trim installed in no time.
Take pride in doing quality work that will make your home improvement project shine through for years to come. The results will be well worth the effort.
Add brads for extra hold
Once the trim is in place, adding brads is a quick and easy way to reinforce the installation for extra durability. Brads are small nails you drive in at an angle to secure the trim without further damaging its surface.
You’ll need:
- Brad nails (also called finish nails): 1 1/4 to 2 inches long for trim
- Hammer
- Wire cutters (to nip off any nails that stick out)
- Putty or wood filler (to cover nail holes)
Where to place the brads
Focus on areas where the trim meets the wall and the door jamb. Space brads about 6 to 8 inches apart. Drive them in at a 45-degree angle, aiming for the area behind the trim. Tap lightly with your hammer until the brad head is flush with the surface of the trim.
Fill any visible holes
Use putty, wood filler, or painter’s caulk that matches your trim color to cover the brad heads and any gaps for a seamless finish. Apply with a putty knife or caulk gun and wipe away excess with a damp cloth. Let it dry completely.
Touch-up paint (if needed)
If you see any visible marks, scratches, or dents on the trim from the installation, touch them up with matching paint. Use a small artist’s brush to carefully dab on paint in thin layers, letting each coat dry for several minutes. Continue until the blemish is covered.
Adding brads is a simple step that makes a big difference in how securely your trim is fastened.
Paired with high-quality wood glue or construction adhesive for installing trim, brads create a durable wood join that will last for years to come.
Your trim will be firmly in place but still allow the wood to naturally expand and contract with changes in humidity. For an amateur DIYer, brads are a great alternative to more advanced tools like a nail gun to achieve professional-looking results.
Fill in any gaps with wood filler
Inspect the jamb
Once your trim pieces are cut to size, hold each one up to the jamb to check that it fits properly before installing trim. There may be small gaps around the edges or between pieces that will need to be filled in for a seamless finish.
Apply wood filler
Use a wood filler or caulk that closely matches your trim color. For small cracks and gaps, you can apply the filler with a putty knife or caulk gun. Press it into the space and smooth it out with a wet finger or tool. Wipe away any excess with a damp cloth.
Secure in place
Once the wood filler is dry, you can secure your trim pieces permanently in place. For door casing, use a hammer to tap finish nails through the trim into the jamb. Place nails every 6 to 8 inches apart.
For door stops, you have to wood glue the back of the trim before nailing it in place. The glue will strengthen the bond.
Nail the stop in place, then fill over any indented nail heads or gaps around the edges with more wood filler.
When all trim pieces have been installed and the wood filler has dried, you’re ready to sand, stain, or paint for a professional finish. Your trim is now securely in place and ready to stand the test of time. By taking it slow and focusing on the details, you’ve accomplished a DIY task that will make a big impact.
So, you want to install door trim in your home without using a nail gun.
In the process of learning how to install door trim without a nail gun, it’s worth noting that the same techniques can be applied to install baseboards as well. By carefully measuring, cutting, and securing the baseboards, you can achieve a cohesive and professional-looking result throughout your space.
So, as you master the art of installing door trim simply without a nail gun, remember that you’re also gaining valuable skills for installing baseboards, and enhancing your home’s overall appearance.
When installing door trim without a nail gun, it’s important to be cautious while using a hammer to avoid leaving hammer marks on the trim, ensuring a clean and professional finish. Use a nail set or punch to sink each nail head just below the surface of the trim.
Learning how to install door trim without nail guns may require more time, however, for installing door trim in an average-sized room, you can complete the project without nail guns within 4 to 6 hours, encompassing preparation, installation, and finishing work. The result will be custom wood trim installed with care and craftsmanship. All of this without a nail gun!
It’s easy for your hardware shop to get molding in different shapes. Installation can simply consist of just buying the box of itty-bitty finishing nails and hammering the moldings together.
You’ll find that you don’t need a nail gun for such tasks. This applies not only to trim but also when you install baseboards, ensuring a cohesive and polished look throughout your space with just a few basic tools.
Yes, trims can be glued. When installing door trim without a nail gun, using wood glue in addition to nails helps create strong, long-lasting bonds between the trim pieces and the wall. Just be sure to give the glue ample time to cure and harden before subjecting the trim to any stresses.
Installation can usually be accomplished with nails, though trimmings may be secured by glue. You might have to add several nails to the piece to hold it together, as the glue dries. Using clamping or fast-putting glue can make no nails necessary for the installation – this is the best solution!
Conclusion
So, there you have it, a step-by-step tutorial on how to install door trim without nail gun. While it may take a bit longer than using nail guns, doing it by hand allows you to work slowly and carefully, ensuring a result you can be proud of.
While learning how to install door trim without a nail gun, it’s helpful to know that some people keep a back up nail gun as a plan B, but with the right techniques, you can achieve great results without relying on one.